The Surfaces Nobody Mentions Until They Spoil the Room: Radiators, Pipework and Built-In Joinery
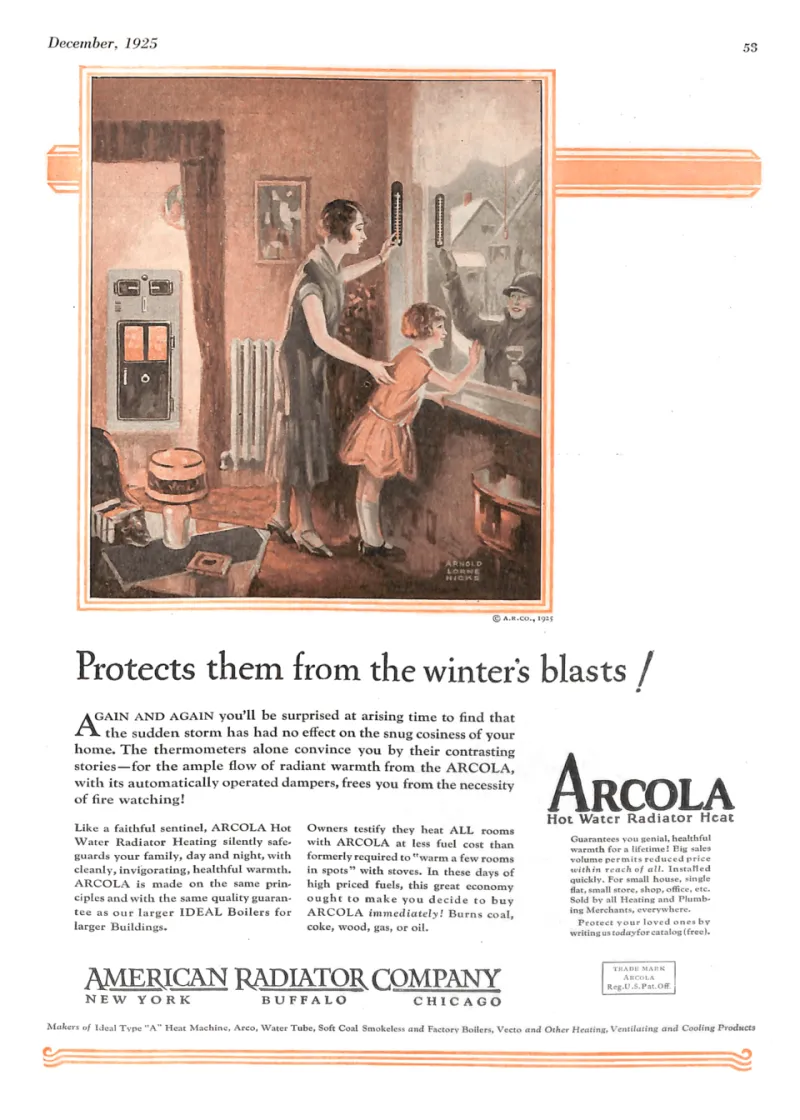
Photo: Unknown authorUnknown author, Public domain, via Wikimedia Commons
Every decorating job has a list of surfaces that nobody puts on the mood board. The walls get the colour decisions, the ceiling gets a fresh coat and the woodwork gets a lick of white. Then the room is finished and something still looks unfinished. Nine times out of ten it is the radiator, the pipe running up the corner or the built-in cupboard that was left in its original 1980s gloss. These are the surfaces that quietly set the standard for the whole room, and they are the ones most likely to be rushed.
The things bolted to the wall
A radiator is often the largest single object on a wall and it is usually the first thing a visitor's eye lands on, whether you want it to be or not. In older UK housing stock you will meet cast iron column radiators, 1970s steel panels, modern designer panels and the occasional towel rail that has seen better days. Each one takes paint slightly differently, and each one has a different tolerance for heat.
Radiators: prep, paint and the first heat cycle
Turn the heating off and let the radiator cool completely before you touch it. Nothing good happens when paint meets a warm surface.
Degrease first. A radiator collects cooking grease, dust and hand marks, and paint will not adhere to any of it. Sugar soap or a proper degreaser, then a rinse and a full dry. Key the surface with 240-grit paper or a fine abrasive pad, paying attention to edges and any rust spots. Spot-prime bare metal with a zinc phosphate or red oxide primer, and feather the edges of old chipped paint with filler if the damage is deep.
For modern panel radiators, a water-based satin or eggshell formulated for interior wood and metal is usually fine, applied in two thin coats with a small roller and a brush for the edges. Traditional column radiators and cast iron benefit from a solvent-based enamel or a paint specifically rated for heated surfaces, which flows better into the fluting and resists the expansion and contraction of repeated heat cycles.
Do not paint thermostatic valves, TRV heads or anything with a dial or sensor. Mask them, or remove them if you know how to refit them safely. Leave the paint to cure fully before turning the heating back on; 48 hours is a sensible minimum, and longer in a cold room. The first heat cycle is when a rushed job reveals itself as peeling or blistering.
Exposed pipes: paint them out or box them in
Exposed pipework is a design decision as much as a painting one. Painting pipes the same colour as the wall in an eggshell finish is the cheapest way to make them disappear, and in a period property it is often the right call. Copper needs an etching or zinc phosphate primer before anything water-based will stick to it. Plastic push-fit pipework does not take paint well at all and needs abrading plus a plastic-specific primer, and even then it is a compromise.
Boxing in is the neater answer where the pipe run is long or the wall is being replastered anyway. MDF boxing, filled at the joints, caulked to the wall and painted in the wall colour looks intentional rather than hidden. Leave access panels for isolation valves; a boxed-in stopcock is a future emergency.
Built-in joinery and the priming step people skip
Built-in cupboards, wardrobes, alcove shelving and window seats are the surfaces where a DIY job most often falls short, and almost always at the same point: priming. MDF edges are thirsty and fuzzy, and a top coat applied straight onto them will dry patchy and rough. A dedicated MDF primer, or a thinned mist coat of the top-coat paint, seals the edges and gives the finish something to sit on. Fill screw holes and dents with a two-part filler, sand back to 180 then 240, and caulk the joints between joinery and wall before painting, not after.
For the top coats, an eggshell or satinwood is the practical choice for anything that gets touched. Water-based hybrid paints have largely solved the old problem of oil-based white yellowing in dark rooms, and they dry faster, which matters when you are painting a run of cupboard doors in an occupied house. Knots in pine need a knotting solution or a shellac-based primer, or they will bleed through within months.
Window reveals and sills
Reveals are the forgotten fourth wall of many rooms. They are often skimmed badly, with lumpy filler and a hard edge where the plaster meets the frame, and they are the first thing you see when you look out of the window. Fill, sand and caulk properly, then paint the reveal a shade lighter than the wall if you want to pull light into the room. Sills take the brunt of condensation and should be finished in a durable eggshell rather than a soft matt.
What older housing stock throws at you
Pre-1960s properties can still have lead paint on woodwork and radiators, and sanding it is a genuine hazard. A quick test kit costs very little and tells you whether to strip chemically or leave it alone and overcoat. Older plaster may be lime-based, which needs a breathable paint rather than a vinyl emulsion that traps moisture. Distemper on old walls has to be washed off or sealed, or the new paint will simply fail. Textured coatings and some ceiling finishes from the 1960s to the 1980s may contain asbestos, and should never be sanded.
Radiators in older homes are also frequently painted in old solvent gloss that has yellowed and crazed. It can be overcoated, but only after degreasing and keying, and only with a product that will cope with heat.
When to call in a decorator
Some of this is a pleasant weekend's work. Some of it is not. Call someone in if you want a spray-quality finish on built-in joinery, if the room has high ceilings or a lot of pipework, if lead paint or asbestos is a possibility, or if the radiator is a cast iron column that needs a proper enamel finish. The cost of a failed DIY cover-up usually shows up six months later as peeling around the valves, and by then the room has been put back together.
A sensible order of work
Degrease and key every surface first, including the ones you are not painting until later. Paint the ceiling, then the walls, then the joinery and radiators, so that roller spatter does not land on fresh gloss. Cut in around radiators with a small brush before rolling the wall behind them. Leave the heating off until the radiator paint has cured, and keep the room ventilated without blasting cold air directly at the new finish.
Get these surfaces right and the room reads as finished. Get them wrong and no amount of expensive wall colour will cover for them.